This website uses cookie files. By using this website you agree to their use according to Your current webbrowser settings. CLOSE
Quality
Quality = perfect scan, but what does it mean? In most cases the quality is associated with sharpness of picture in big enlargement - big resolution/number of megapixels. But this isn't the only aspect of the scan, which everyone should pay attention to. Most of the characteristics showing the difference between scans were described below with examples.
Resolution
According to the manufacturer our device can scan transparent materials up to 11000 dpi, however our tests show that the real resolution is about 5500 dpi. It's sufficient to scan all included in the film details without excessive enhancement of film grain. This gives picture of nearly 15000 x 12000 pixels
from 6x7 frame which could be printed in 105 x 85 cm (360 dpi print quality - the native resolution of Epson printers). Of course film grain, sharpness of the lens and way of recording image have very large impact on the quality of the developed film, and at the same time on the scan and final print.

Sharpness
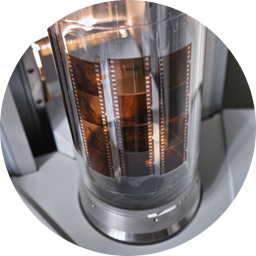
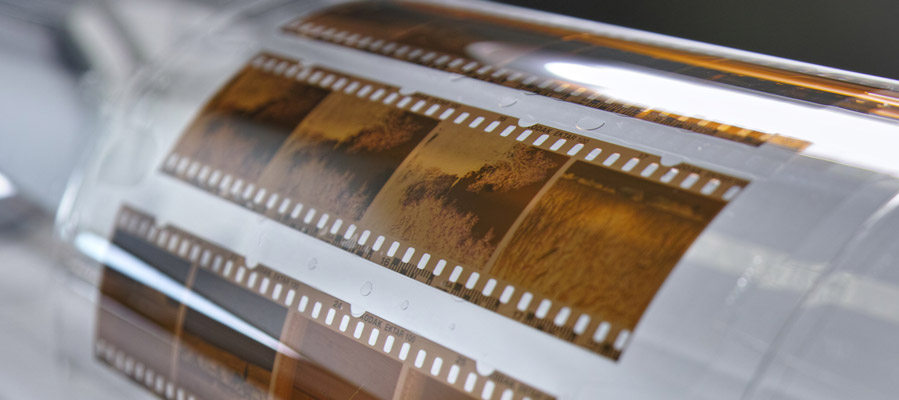
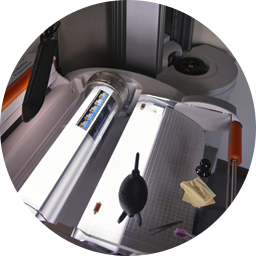
Positive and negative materials are always wetmounted on the drum using dedicated KAMI fluids and Aztek polycarbonate overlays. This solution provides
perfect film flatness and focus over the entire surface of the frame.
Scratches, dust and other dirt
An additional advantage of wet mounting is elimination of most scratches and dirt of scanned film. These defects of course do not magically disappear under the influence of fluid, but are much less visible and finally we get better picture.
Colors
Applied profiling helps us get accurate color while scanning positive materials. We use IT8 targets made on the slides with very high dynamics which allows good calibration of highlights and shadows. Additionally, they are manually measured which increases the accuracy of colors.
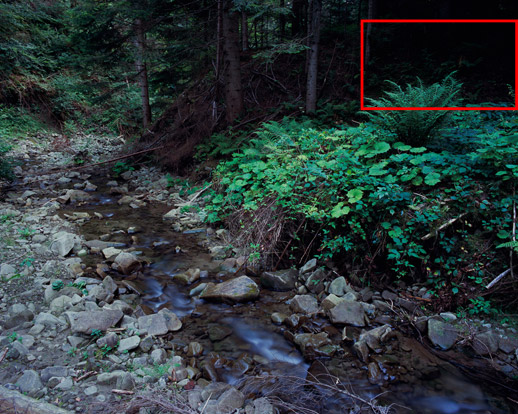
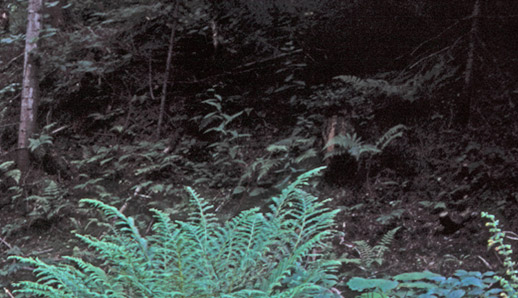
Noise and shadows
Amazing accuracy of the PMT can achieve
very good signal to noise ratio. This means we can pull out a lot of useful information from dark areas of picture without enhancing the noise of the scanner. Additionally
12 bit logarithmic sampling (which results in a 16 bit output file) provides a sufficient amount of color information to bring details back. Very low image noise also allows for considerable sharpening of the scanned image without losing its quality (image is clear of artifacts from the ICE technology and banding of the flatbed scanner).

Underexposed positives
Sometimes good exposure is not possible and transparency will turn out underexposed.
We can correct this by strengthening power of the backlight which greatly improves the image quality and allows to scan even very dark frames.
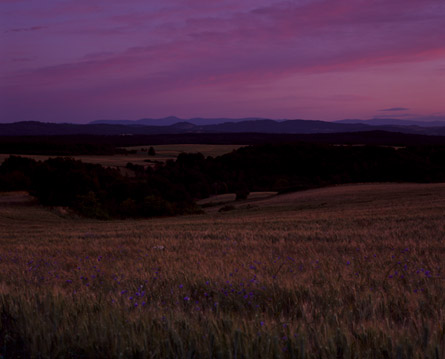
Default light source power
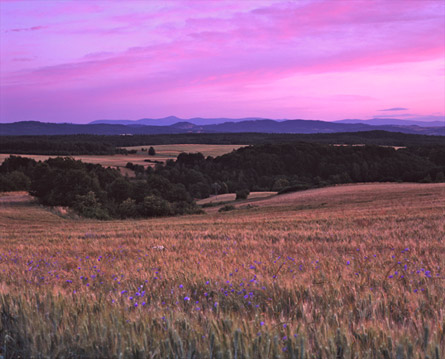
Strengthened lighting

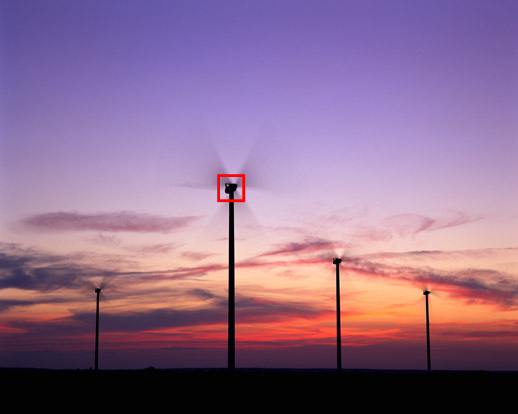
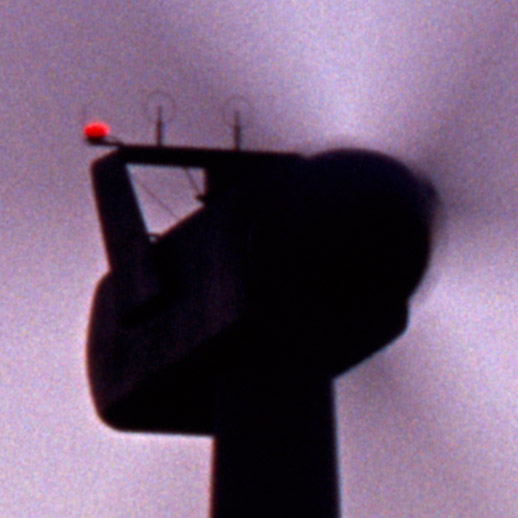
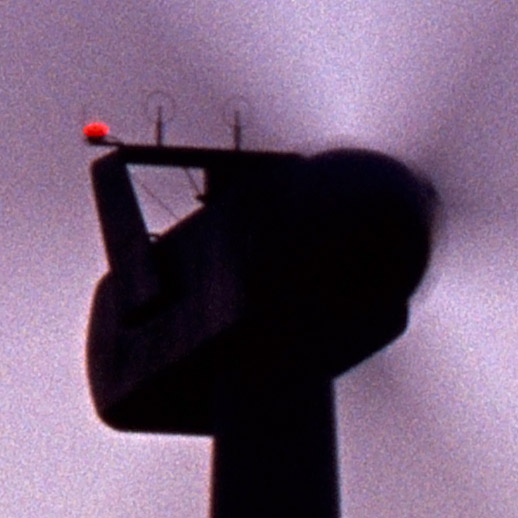
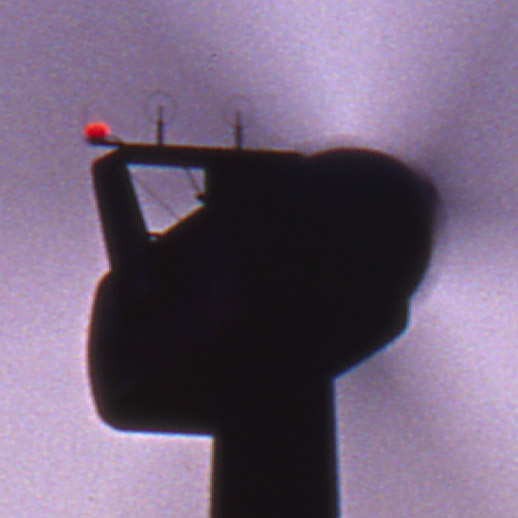
Flare effect
The phenomenon of flare occurs when the currently scanned dark parts of the film are affected by neighboring bright surfaces. This results in shine / glow effect of bright elements. It's caused by scattering of light and its impact on adjacent pixels. In an ideal scanner the light should illuminate only one actually scanned pixel, so that each pixel could be read independently. The difference in brightness does not have to be large to lower image quality (it results in lower contrast and disappearing details). The presence of this unwanted effect depends on the construction of the scanning device and its quality.
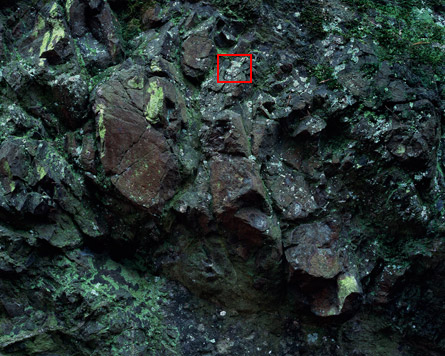
Full image from drumscanner
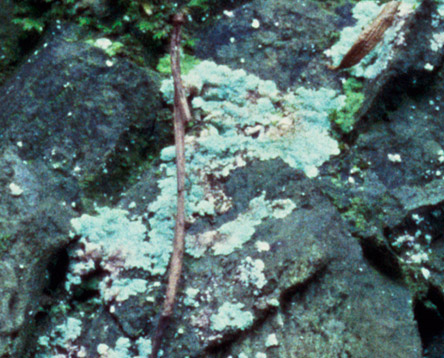
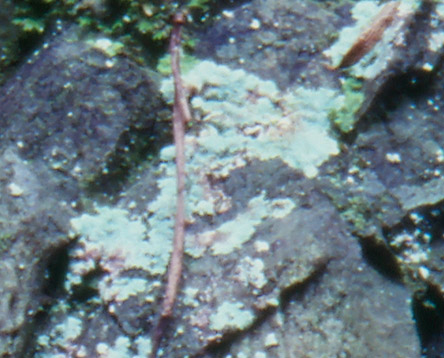
Crop (move mouse over image to see scan from Epson v750)

Output file and postprocessing
Our work results in 16 bit TIFF image with Adobe RGB profile without any corrections (sharpening or color changes beyond the profiling positive materials).
In addition we offer "junk" removal, which will not be eliminated by the scanning fluid. Postprocessing price depends on the amount of effort that we need to put into photo retouching and it's determined individually.
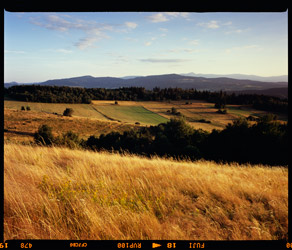
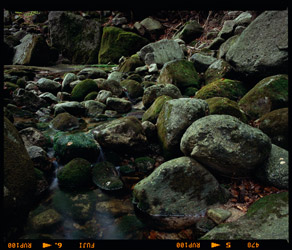
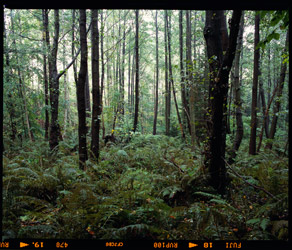
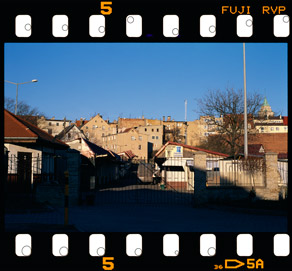
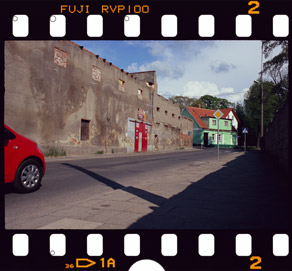
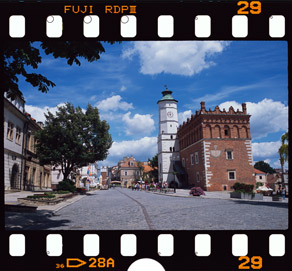
Samples from drumscan
Scans were taken at
5500 dpi without sharpening or edition (no dust removal, correction levels, etc.). Slides were profiled by IT8 target. Negatives were reversed using SilverFast HDR software. All files have been converted to JPG format (quality = 10) with sRGB profile.
Download sample photos
from medium format - 6x7:
Download sample photos
from small format - 35 mm:

What determines the overall quality of the scan
The condition and the quality of supplied materials have direct impact on the quality of scans. Certainly the wetmount scanning solution eliminates lot of problems related to dirt and scratches but it's not magic that will remove any damage. Extensively scratched, dirty, creased films have a small chance to be scanned perfectly. A film in better condition will be scanned better. The sharpness of elements in the picture corresponds to the camera optics and process of creating the images (wind, using a tripod, shutter speed, etc.).
Why us?
Shortly about my photographic journey...
My adventure with analogue cameras began fairly recently - in 2014, when my friend said that the pictures look good only on a film. Having carefully considered the advantages and disadvantages of the analogue technique I realized that I should give it a try. I was mainly interested in colors, their separation and the ability to create large prints, which give 6x7 slides. Because of these reasons
I choose a medium format camera Bronica GS1. Soon after I bought the first scanner - Epson V750. Highly praised flatbed scanner, which according to some (or many) opinions represents the quality of dedicated scanners and even a drumscanners. After many hours of fighting with the device I was able to get good results with the help of additional glass panes, scanner profiling and careful cleaning transparencies before scanning. Everything would be perfect but my friend (mentioned before) said that the quality of the scans would be good only after drum scanning (something like the holy grail of scanning). A few months later,
I became a proud owner of a scanner Scanmate 4000. The quality of the scans - despite many disadvantages - left behind Epson V750. Unfortunately its age, color casts, jitter (wow and flutter) and noise in the shadows brought me to the limits of mental toughness. I gave up scanning and devoted more time to taking pictures. In the meantime I was searching for another scanning machine.
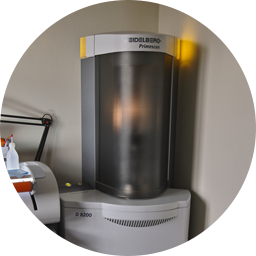
Currently I have Heidelberg Primescan D8200, which pulls almost everything what is possible from every frame.

Do you want to scan your materials as best as possible?
If yes - this is the right place. Because of that reason I started offering my services. Make a perfect scan once and never come back to scanned frames.
Concerned about your transparencies? Don't be!
We reduce to minimum physical contact with the film. If the material quality allows, it's not cleaned mechanically in any way (it's only air blowed to take out dust particles from the surfrace). Slides and negatives are mounted using professional KAMI fluid. According to the manufacturer the fluid does not leave any substances on the surface of the transparencies and evaporates in 100% (after scanning can be visible some residue, which was collected from the surface and didn't evenly space after fluid evaporation).
Distribution and copyright
We make sure that your photos do not go into the wrong hands without your permission. If you wish files can be encrypted.
Offer
What, how and for how much?
We provide only the highest quality scans -
16 bit uncompressed TIFF files. Counting the price for each MB does not make sense here, so we present the overall price for the frames.
Positives and negatives scans in the following formats:
- 35 mm (up to 11000 dpi), 5500 dpi:
- 1-3 frames - 16 € / frame
- 4-10 frames - 14 € / frame
- over 10 frames - price is negotiable
- Medium format 6x6, 6x7 (up to 5500 dpi), 5500 dpi:
- 1-3 frames - 25 € / frame
- 4-10 frames - 20 € / frame
- over 10 frames - price is negotiable
- 4x5 (up to 4000 dpi), 4000 dpi: 50 €
- 8x10 (up to 2500 dpi), 2000 dpi: 75 €
How do we cooperate?
 Contact
, determination of the amount of material to be scanned
 Sending materials
 by mail / courier
 Evaluation of the quality
 of frames for scanning (contact with the customer if necessary)
 Scanning
materials*
 Payment
(PayPal)
 Sending back
originals by post and upload scans to FTP**
*When scanning negatives we send samples of reversed frames via e-mail or FTP server to the client's approval.
**Scans may be sent on a disc with the original materials or uploaded on our FTP server.


 Shortly about my photographic journey...


 What, how and for how much?
 How do we cooperate?


 drumscan


 drumscan


 All information and images are the exclusive property of the creator - Wojciech Dąbrowski.